


This how-to will cover the basic installation of Debian linux and getting CCcam up and running on it.
This How-to is still WIP by CC_Share
--Todo--
---------------------------------------
First download the netinstall cd of debian linux
You can download it from the following URL:
Link http://cdimage.debian.org/debian-cd/...86-netinst.iso
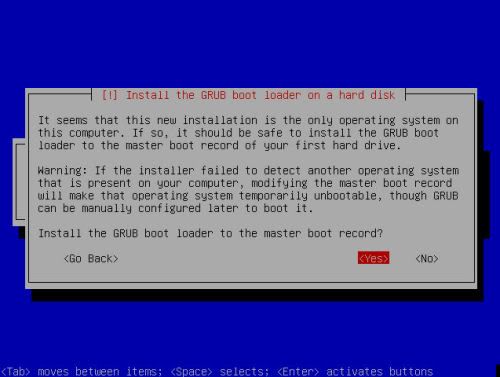
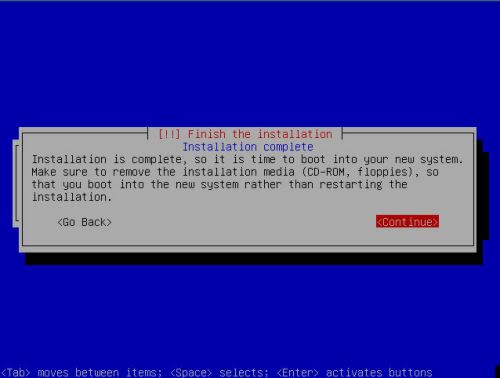
This will install the basic debian linux system on you're harddisk.
Boot the computer from the CD you just created.
Just press enter here to start the installation
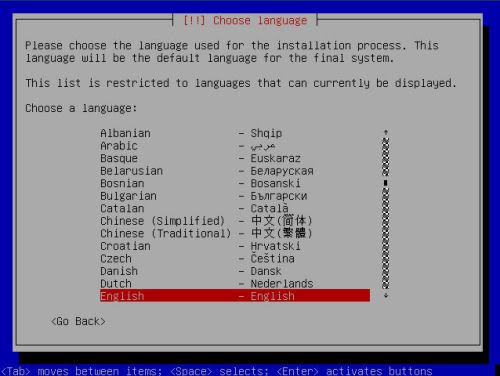
Select the language you prefer
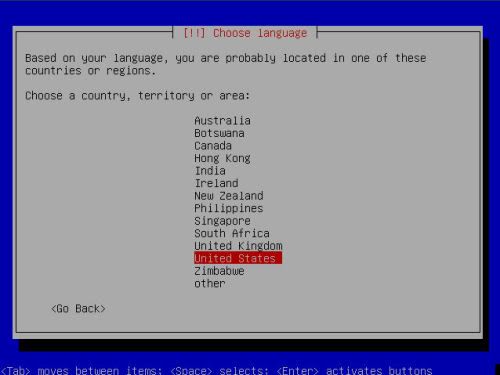
Select the country you're in. Based on the language it selects a default country
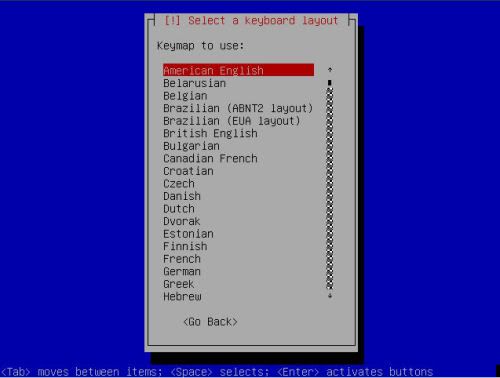
Here you can choose the keyboard layout. Make sure you select the proper layout otherwise installation might prove to be quite tricky.
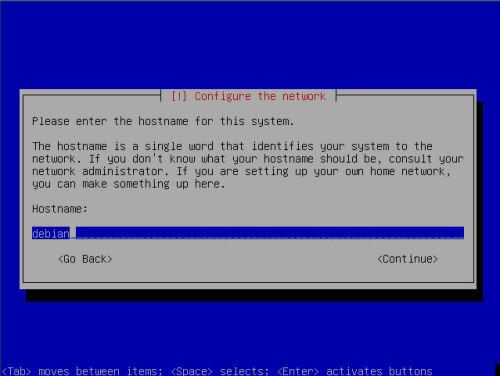
Set up the hostname of you're server here. I prefer to set up the first part of my DYNDNS account info here.
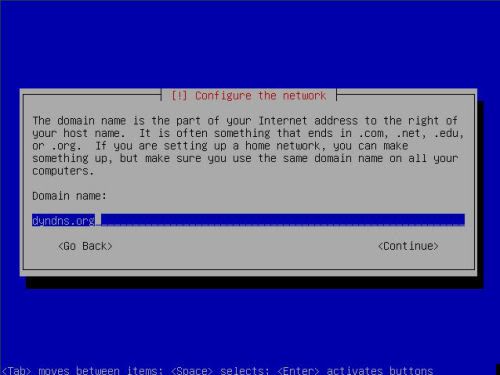
Here you must enter the domain name. In the example above, you can see i put dyndns.org here
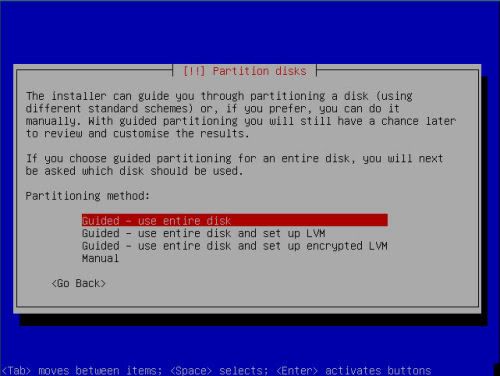
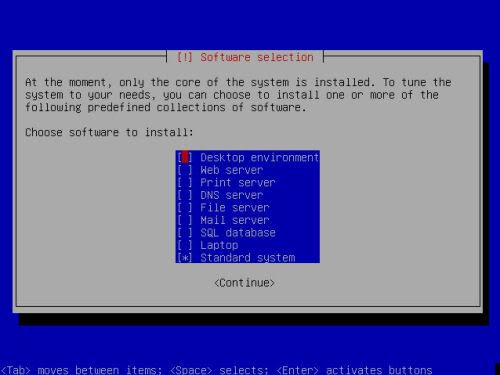
Next up is the partition guide. Here you must choose
Quote:
Guided - Use entire disk
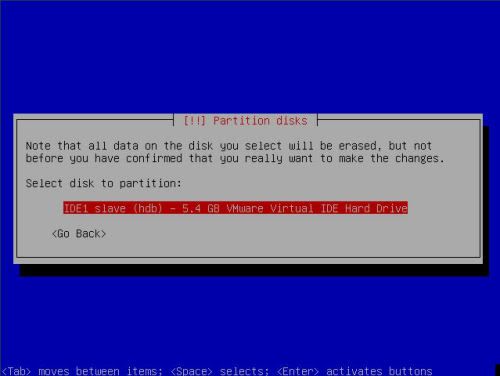
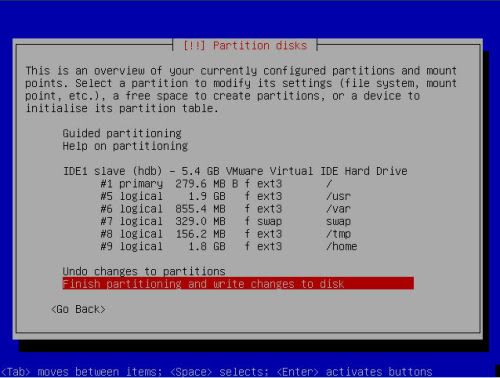
Select the right harddisk. Usually in a stand-alone server, there will just be one entry

 Reply With Quote
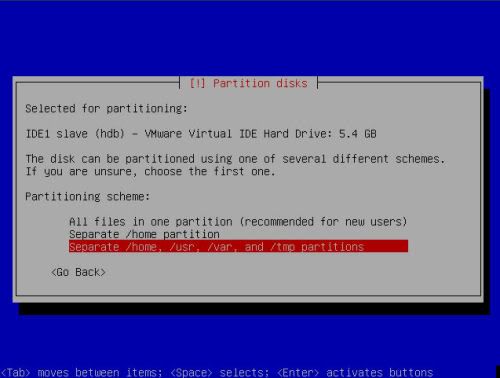
 .
.

 0:70
0:70 


